After about a year and a half with my 13" MacBook Pro, the time had come to upgrade the hard drive from the stock 120 GB disk that it shipped with. I had done some research online and given the setup that I had I figured this would have been a fairly easy task. However I did run into some snags and I thought I’d share for whoever tries this in the future.
New HD
While I still had about 10 GB free on my disk before upgrading, I wanted to make sure that I had enough room for future growth. I decided to go with a 500 GB Western Digital hard drive. Check out the link for Amazon below:
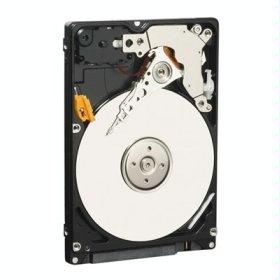
Western Digital Scorpio Blue 500 GB Bulk/OEM Hard Drive 2.5 Inch, 8 MB Cache, 5400 RPM SATA II WD5000BEVT
My initial thought was to upgrade to a 7200 RPM disk, but after reading online I heard stories of some users who complained about noise issues with a faster disk. I had never had any issues with my previous 5400 RPM disk so I went the cheap route. In the end the new HD only cost me $56.00, pretty good deal. Ah, I remember the days when a hard drive upgrade would cost hundreds!
Backing Up
The backup process for me was pretty much non-existant. I have a 1 TB Time Capsule that handles all of my backups for me. From what I had read online, I could install the new drive, boot using the installation DVD and point it at my Time Capsule and away we go.
As an aside, I would highly recommend anyone with a Mac to pickup a Time Capsule. It’s a sweet Wifi router, and the peace of mind that comes with regular backups is really nice.
Installation
Installation of the new hard drive was a snap. I simply followed this PDF that was provided on the Apple website. It only took about 5 minutes.
Restore
Now here’s where things started to get frustrating!
After I installed the hard drive, I booted my MacBook with the installation disk that came with the system (more in this in a bit). Once the installer came up, there was an option to restore from a Time Machine backup. I made sure I had a fast ethernet connection to the Time Capsule, put in my password and chose my latest backup. However my computer wasn’t recognizing the new hard disk in the menu to select disks to restore to. Eeeek!
I shut down the machine, cracked it open and made sure that everything was connected properly and then tried again. Still no dice. After a quick Google search I realized that I needed to format the destination drive before proceeding. So I opened Disk Utility, “Erased” the drive to a journaled filesystem and tried again. Success! My disk could be found and I started the restore process.
Initially, it informed me that the process was going to take about 44 (!) hours, but in the end it took about 12. I have about 130 GB of data to be restored, but I was expecting it to go quite faster.
Once the restore completed, I restarted the machine and I was greeted with an awesome kernel panic message:
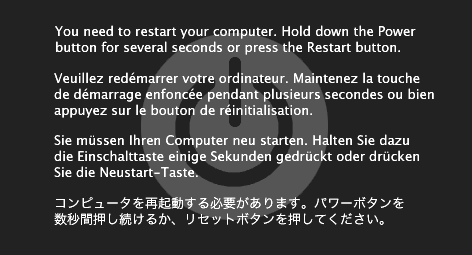
No matter how many times I restarted, the same message came up. Now I was really starting to get worried!
Again, after some Googling I did eventually find out what my issue was. When I restored the backup, I used my installation disk that I got with my computer. The problem was that this was a Leopard install disk, when I was in fact running (and my latest backup) was from Snow Leopard. Time to restore again!
I used the proper Snow Leopard disk to do the restore and this time it only took about 2-3 hours. I’ve now got an upgraded hard disk with about 375 GB to spare!
Utilizing the Old HD
What’s even better is that the old hard drive I have won’t likely go to waste. I’m planning on installing the old 120 GB drive into my PS3 to replace the 40 GB drive I have in that. Win!
A few lessons learned for sure but in all a pretty painless process to upgrade the hard drive on a 13" MacBook Pro.
Dylan
